Save Your Sanity With a Homework Station
Save your sanity with a homework station created with the DYMO LabelManager 160. Not only will homework be easier, but it will also be organized! Check it out!
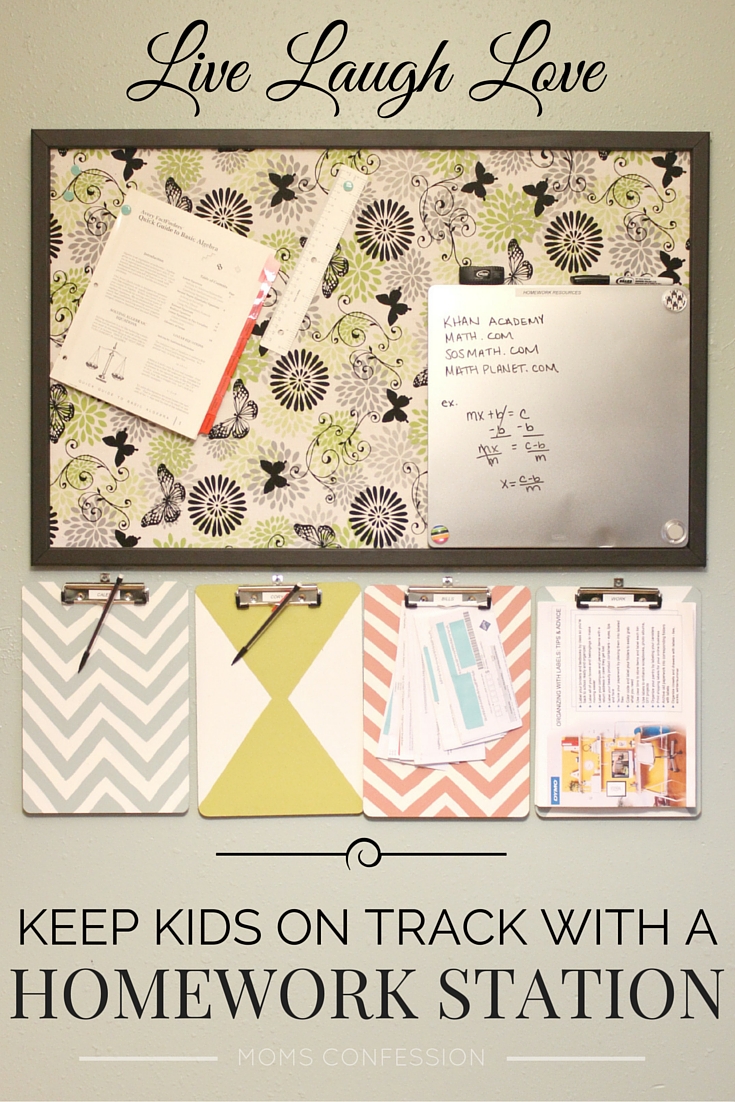
If you could do one thing to keep your kids on track with their homework this year, what would you do? Consider creating a homework station for your children.
A homework station is a place in the home where your kids can come and complete their homework. All of the necessary tools they need are right in one spot. Check out these tips for having a homework station in your home.
Make it functional
If you’re going to have a homework station make it useful. Have the homework station in a place at home that isn’t distracting to the person doing their homework.
Also, make it easy for the child to get to their homework station. If their room is a mess, it probably doesn’t make sense to put it in there.
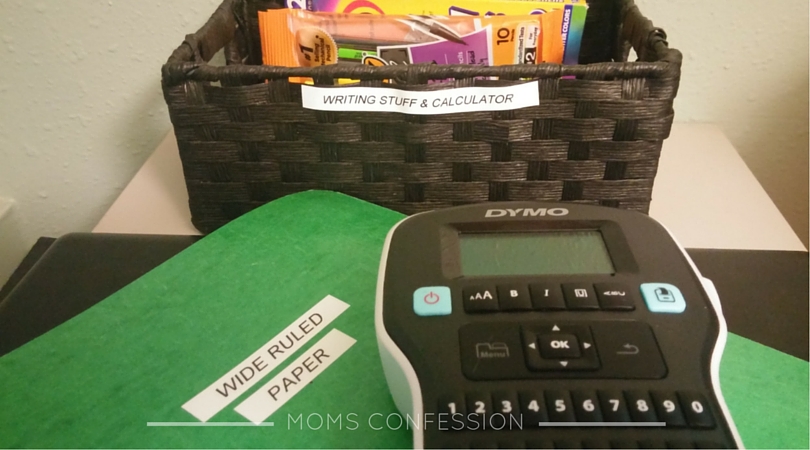
Label Everything
Make your mark on the world with labels. The DYMO LabelManager 160 makes it easy to create high-quality labels for all your organizational needs. It’s compact, and lightweight which makes it super portable to take with you anywhere.
I use the DYMO LabelManager 160 on almost everything. The DYMO LabelManager is great even if I’m only creating labels for the kids to remember where their pencils are during homework time to the supplies in their backpacks.
With 12 colors and five widths, there are plenty of ways to use the DYMO LabelManager 160. You could even color code your homework station for each child!
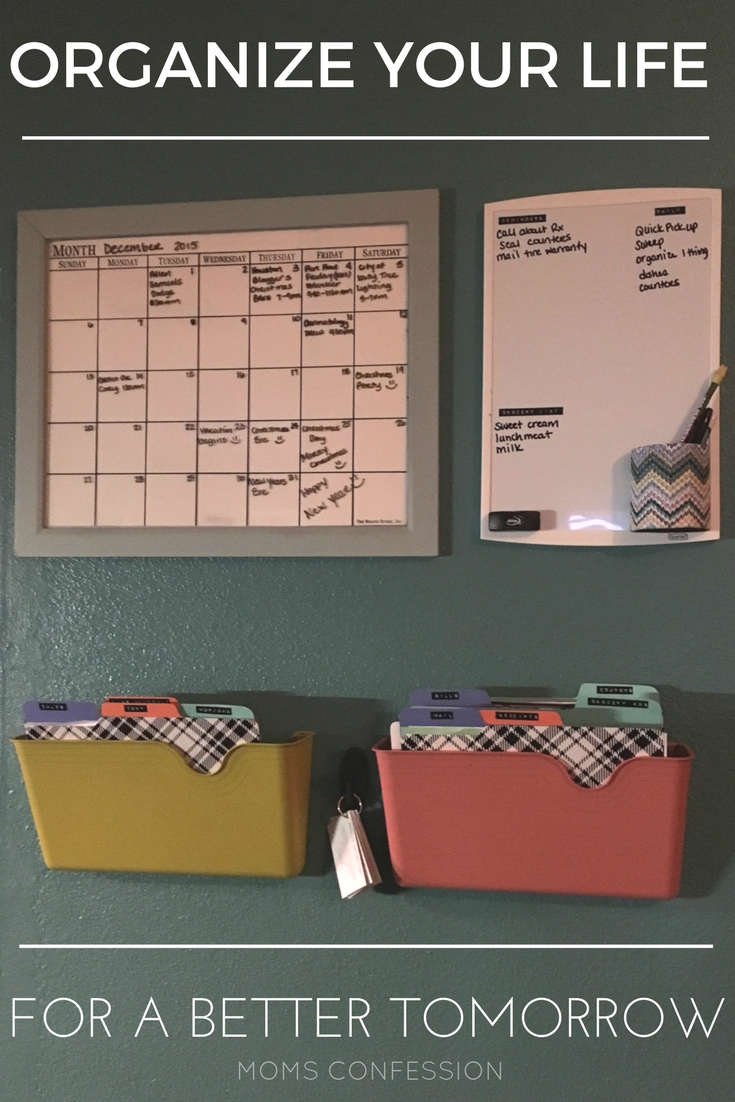
Organize Your Life for a Better Tomorrow
Duplicate the tools they use at school
If you bought your child school supplies to use at school, duplicate what you bought them for their homework station. It’s always nice that they have that school supply at home and school so that they can do their homework efficiently.
Create a homework station “to-go” bag
Not all kids have time to sit down and complete their homework while at home. Sometimes they have games or scrimmages. A neat thing you can do to help them out is to create a to-go homework station.
A “to-go” bag is something they can grab from their homework station when they come home to change for their games. You can include a clipboard and all of their usual school supplies. It’s one less thing they have to worry about while they lead their normal busy lives.
Put a timer at the homework station
Sometimes kids have trouble keeping on task. A timer is a perfect tool to put at a homework station. They can set a timer and know exactly how much time they have left to complete their homework.
Some kids just get distracted and with a timer, they can look and know how much time they have left.
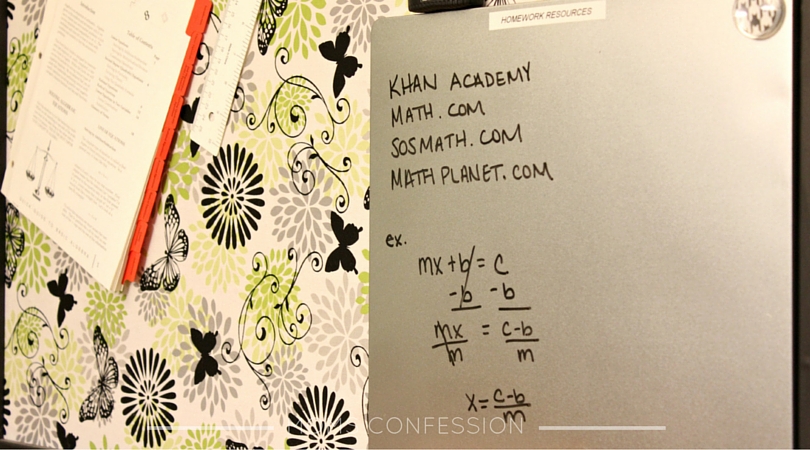
Creating that perfect homework station to help your kids stay on track doesn’t have to be hard. Here are some final tips to keep in mind.
- Make the homework station relevant. As your child grows, you may need to switch some items out to make it more age appropriate.
- The idea behind a homework station is that your child would be comfortable there while completing their homework. It only makes sense to ensure they have furniture that’s comfortable and the right height.
- Don’t forget to make the homework station mobile when you need to, hence, the idea for the homework station to go bag.
- Encourage your child to take a break from studying. You could even put their favorite snacks at their homework station for after school; I’m sure they’d totally appreciate that.
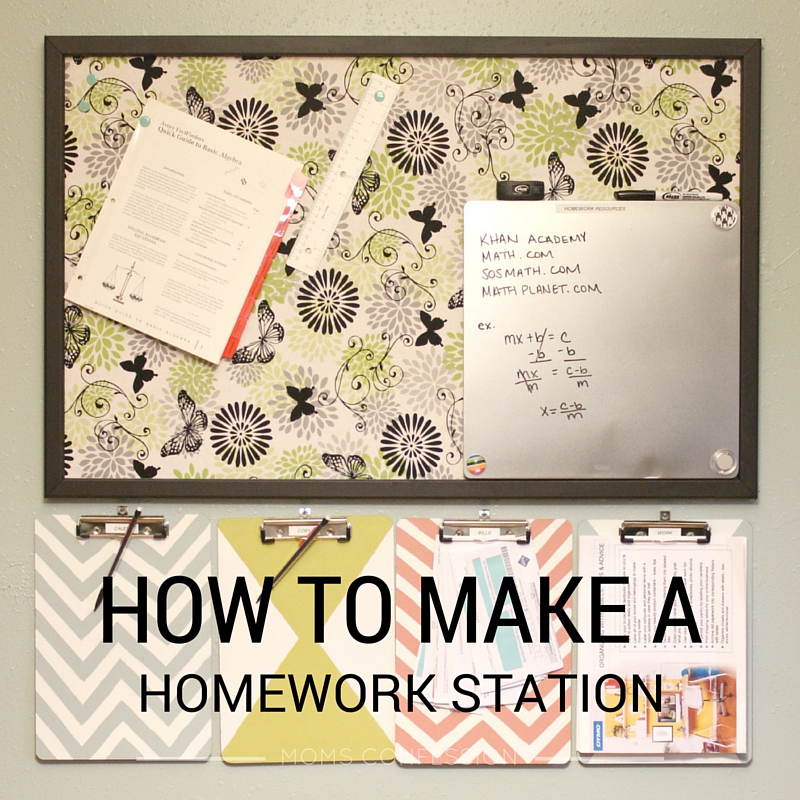
Items Needed:
- Cork Bulletin Board (36″ x 24″)
- One can of Primer Spray Paint
- One can of Black Spray Paint
- Masking Tape
- Newspaper
- Your favorite decorative fabric (I purchased a yard and had quite a bit leftover)
- Spray Adhesive
- Square Magnetic Dry-Erase Board (11.5″ x 11.5″)
- Clipboards (I painted mine using “oops” paint from Home Depot and masking tape)
- Four small nails
- Iron
- Utility Knife
- Decorative Push Pins
HOW TO MAKE A HOMEWORK STATION TO SAVE YOUR SANITY
- Cover cork board with newspaper and seal with masking tape around the edges. Leave the frame exposed.
- Spray the frame with primer and allow it to dry for approximately 30 minutes to an hour.
- Spray the frame with black spray paint and allow it to dry for approximately 30 minutes to an hour. Spray a second coat and allow it to dry as well.
- While the paint is drying, iron the fabric so it will lay flat and not have any creases.
- Next, remove newspaper and masking tape once the frame is fully dried.
- Apply masking tape and newspaper to cover the frame.
- Shake the spray adhesive well and apply a thin coat on the corkboard.
- Lay the fabric slowly onto the corkboard (making sure to remove any air bubbles and creases as it is applied to the cork).
- Using the utility knife, carefully trim off excess fabric from the edges.
- Add four push pins under the lip of the magnetic dry erase board, so the pointed end is sticking out.
- Push it on a corner of the corkboard to create a space to show examples and help children with their schoolwork.
- Label the dry erase board with “Homework Resources” using the DYMO LabelManager 160.
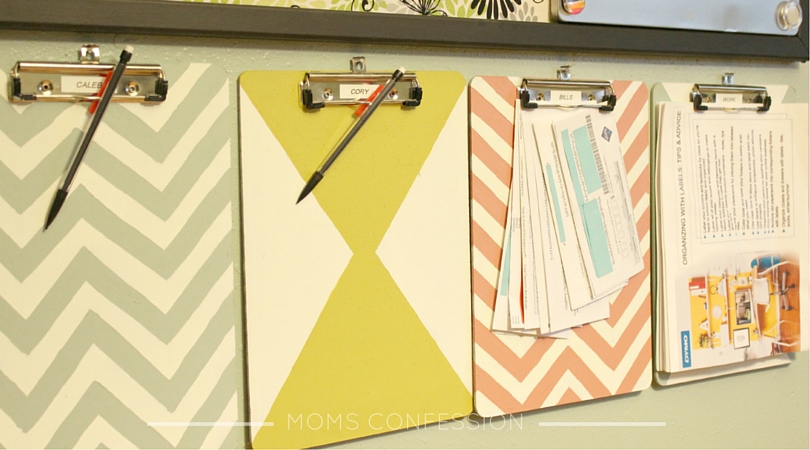
- Hammer 4 nails under the corkboard to hang clipboards.
- Label each clipboard with a child’s name using the DYMO LabelManager 160.
That’s it! Get your DYMO LabelManager 160 and save your sanity with a homework space today!
This post is sponsored by DYMO. All opinions are my own.

